Paintball Accessories

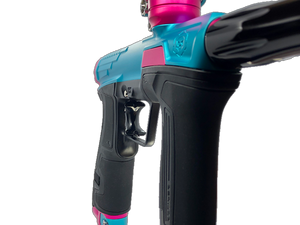
LIQUID PB BONE TRIGGER (BLACK)

Notify me when this product is available:


LIQUID PB BONE TRIGGER (BLACK)

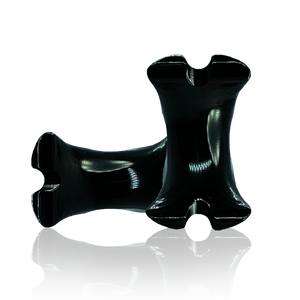
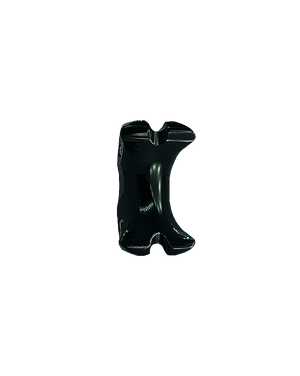
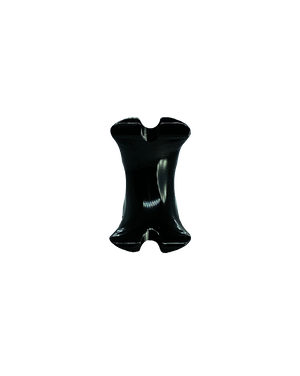
Ergonomically designed and 3D machined to create a comfortable, universal and purpose built trigger shoe. Everyone has their own preferred method for shooting fast but traditional trigger designs only give you a thin surface to work with. 


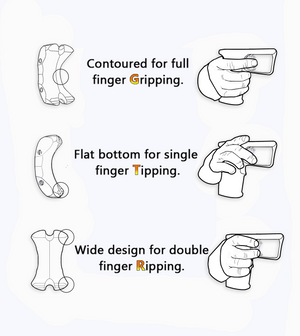
 The Bone GTR was purposefully designed to provide three separate surface areas to comfortably accommodate the most popular shooting styles.


-Contoured so you can full finger...................Grip it!

-Flattened where you can middle finger.......Tip it!

-Widened to let you double finger ................Rip it!


Fits Most Triggers Including Stock Triggers for: m170r, eMek, MG100, CS2m and CVO.

 While you can technically install the Bone GTR in either direction, it was designed to have a top and a bottom orientation. This not only allows it to properly fit different types of triggers but it is how the ergonomic shape was designed to feel and work best. There is a small machined dimple in the back of the trigger that indicates which end faces up. The top of the Bone trigger channel is also thicker than the lower half. See illustration below.

WEB Instructions 12.png

 Installing your Bone GTR is easy! First make sure that your trigger settings are adjusted the way that you want them to be before installing the Bone. Then make sure your marker is degassed and follow the steps below.

1. Make sure the set screws on the Bone are unscrewed enough so that your trigger fits into the trigger channel of the Bone, all the way.

2. Place the Bone onto your trigger,  pull your trigger and hold it back while you slide the Bone down towards the trigger guard as close as you can. Make any position adjustments you want but be sure to leave a little space between the bottom of the Bone and the trigger guard so that the Bone does not hit the trigger guard and impede the travel of the trigger. You can place the printed "backer card" from the Bone packaging between the Bone and the trigger guard and use it as a spacer if you need to.

3. While holding the Bone in place with the trigger pulled, tighten your set screws.

4. Air up your maker and test to make sure you are getting a full trigger pull. 

5. Grip it!

6. Tip it!

7. Rip it!